by Jesús Zabala - 7 min read
How to Oxidize Sterling Silver Jewelry
Sterling silver is a beautiful metal with timeless appeal. Yet, if you are going for a bolder vibe, oxidized silver can be a compelling alternative, providing a dark and rustic aesthetic. Interested in learning how to oxidize sterling silver jewelry?
As skilled artisans making hand-crafted jewelry with metals like sterling silver, we offer techniques and tips for achieving such stunning effects! Discover the fundamentals of oxidation and details about the whole process in our guide below.
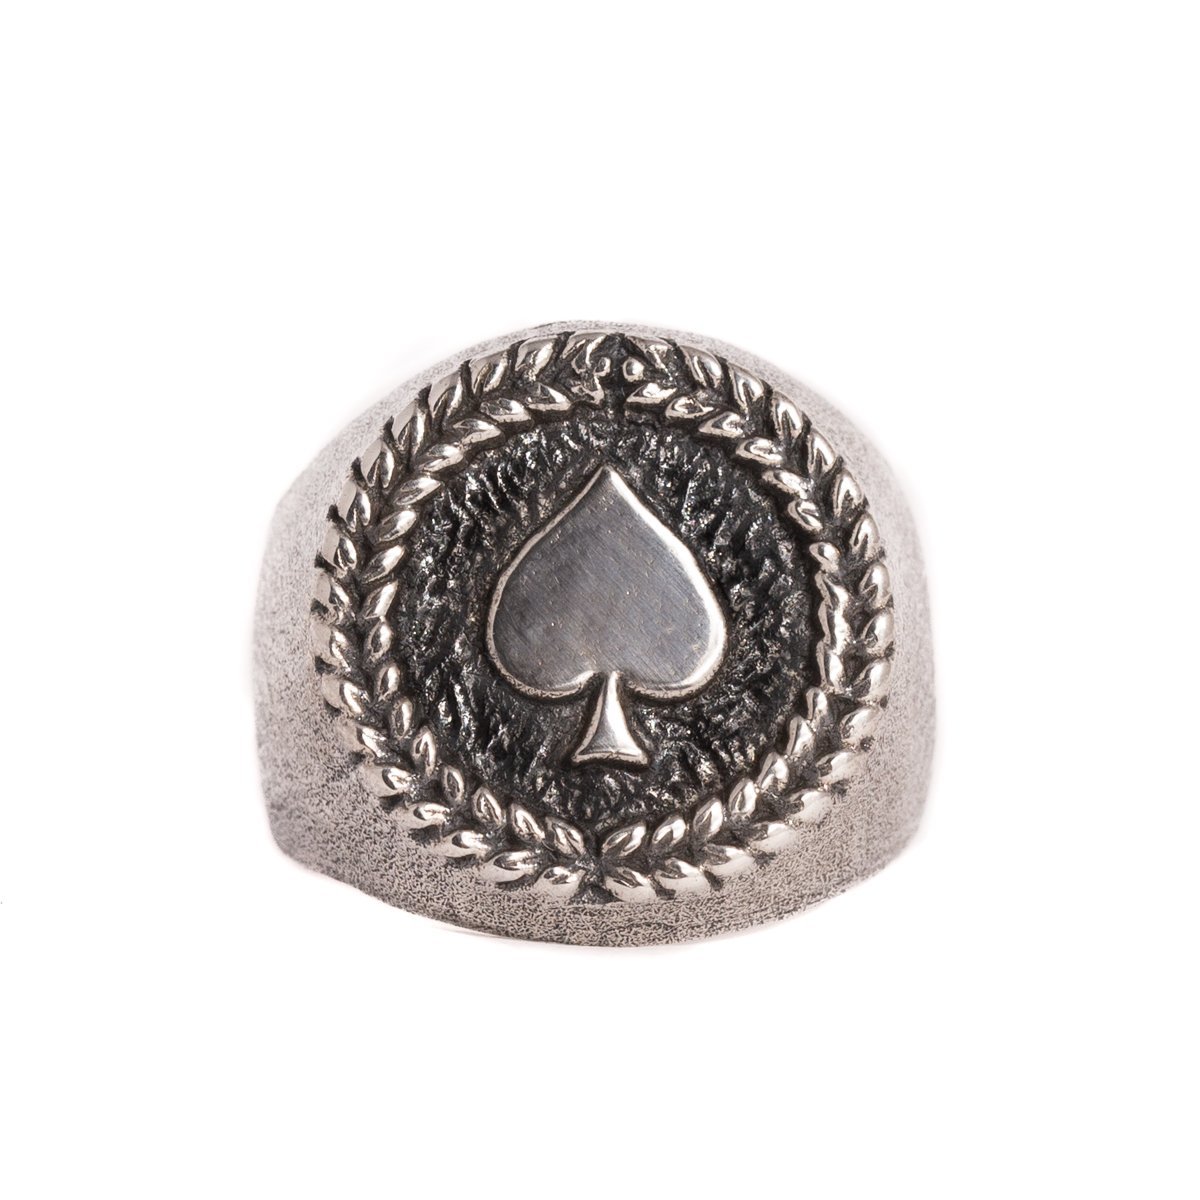
Source: shutterstock.com / Photo Contributor: Suthat Chaithaweesap
Understanding Oxidation
In jewelry-making, oxidation involves a deliberate darkening of the surface of sterling silver. This is a process that involves creating a darkened patina, which can enhance the visual appeal of the jewelry.
Such a surface color is an accelerated process of natural tarnishing that can bring out unique details in the jewelry. Oxidation can add depth, dimension, and an antique charm to your cherished pieces.
Oxidation darkens the jewelry's hue, which can range from subtle gray and deep black to fiery pink and teal, depending on preferences. It is vital to note that it is a surface treatment. It doesn’t change the internal color or properties of the shiny metal.
The appeal of oxidized jewelry
The process of oxidizing enhances the beauty of the pieces, giving them a new organic look and making them distinctive. The popularity of such jewelry can be attributed to multiple factors, including versatility and cost-effectiveness.
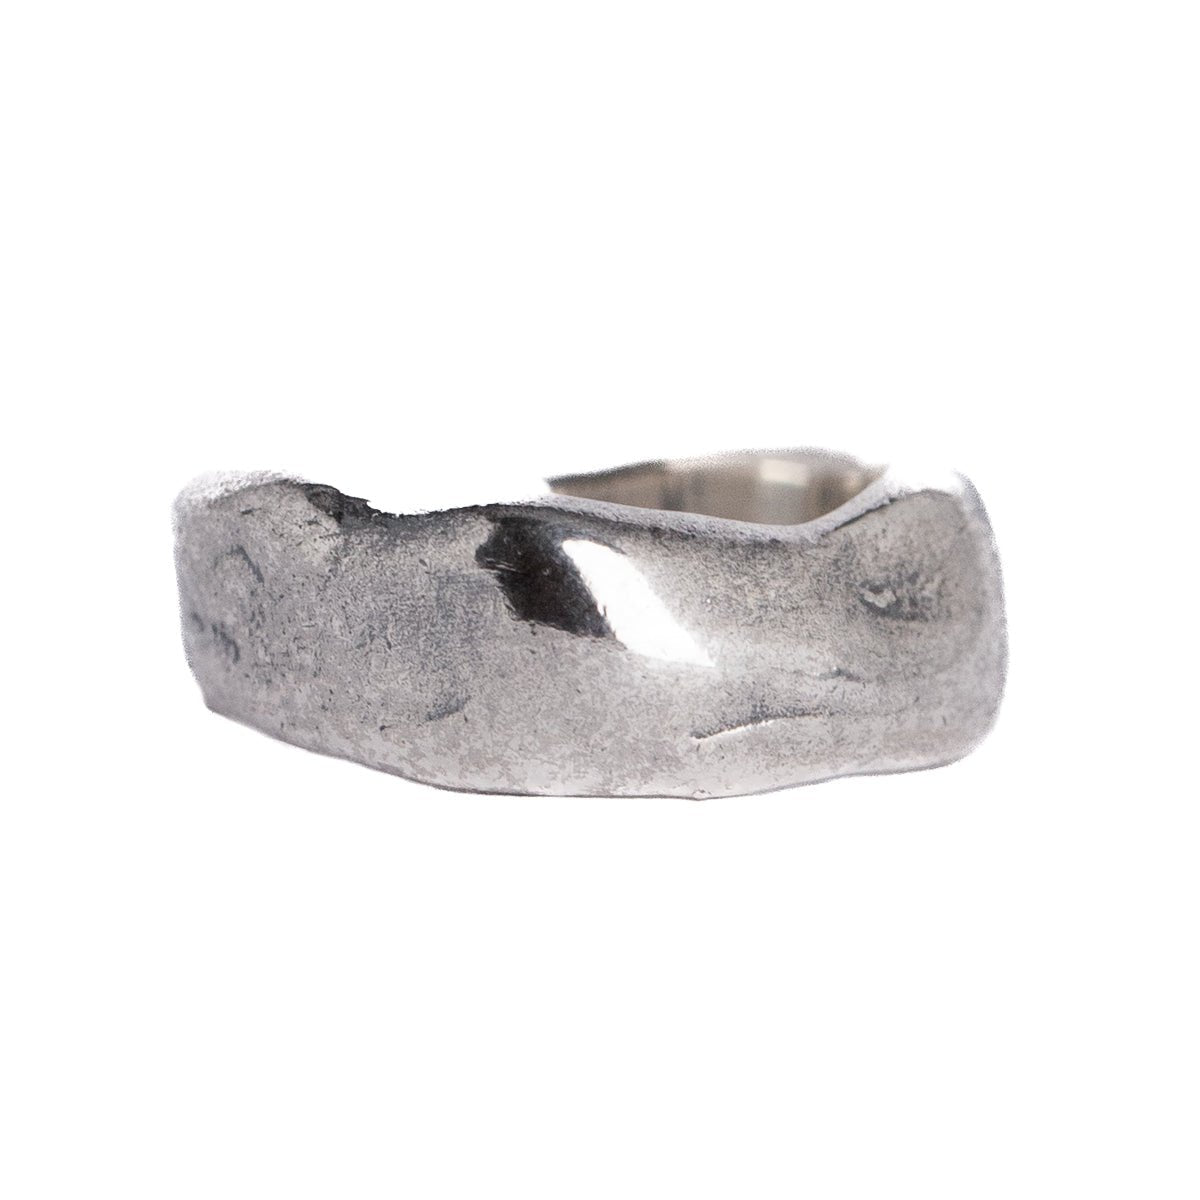
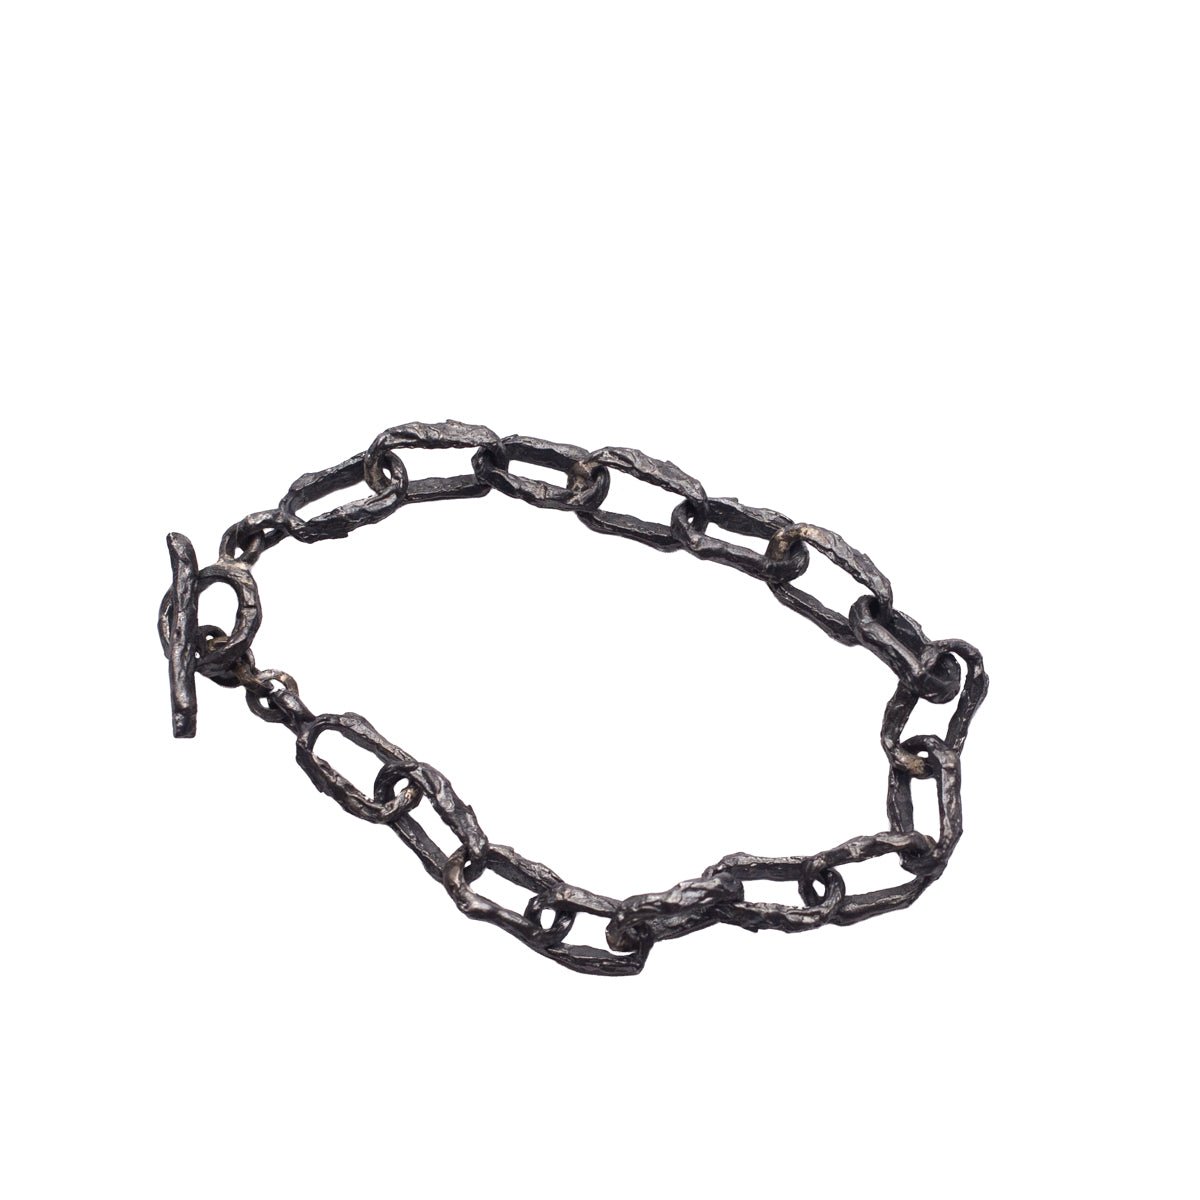
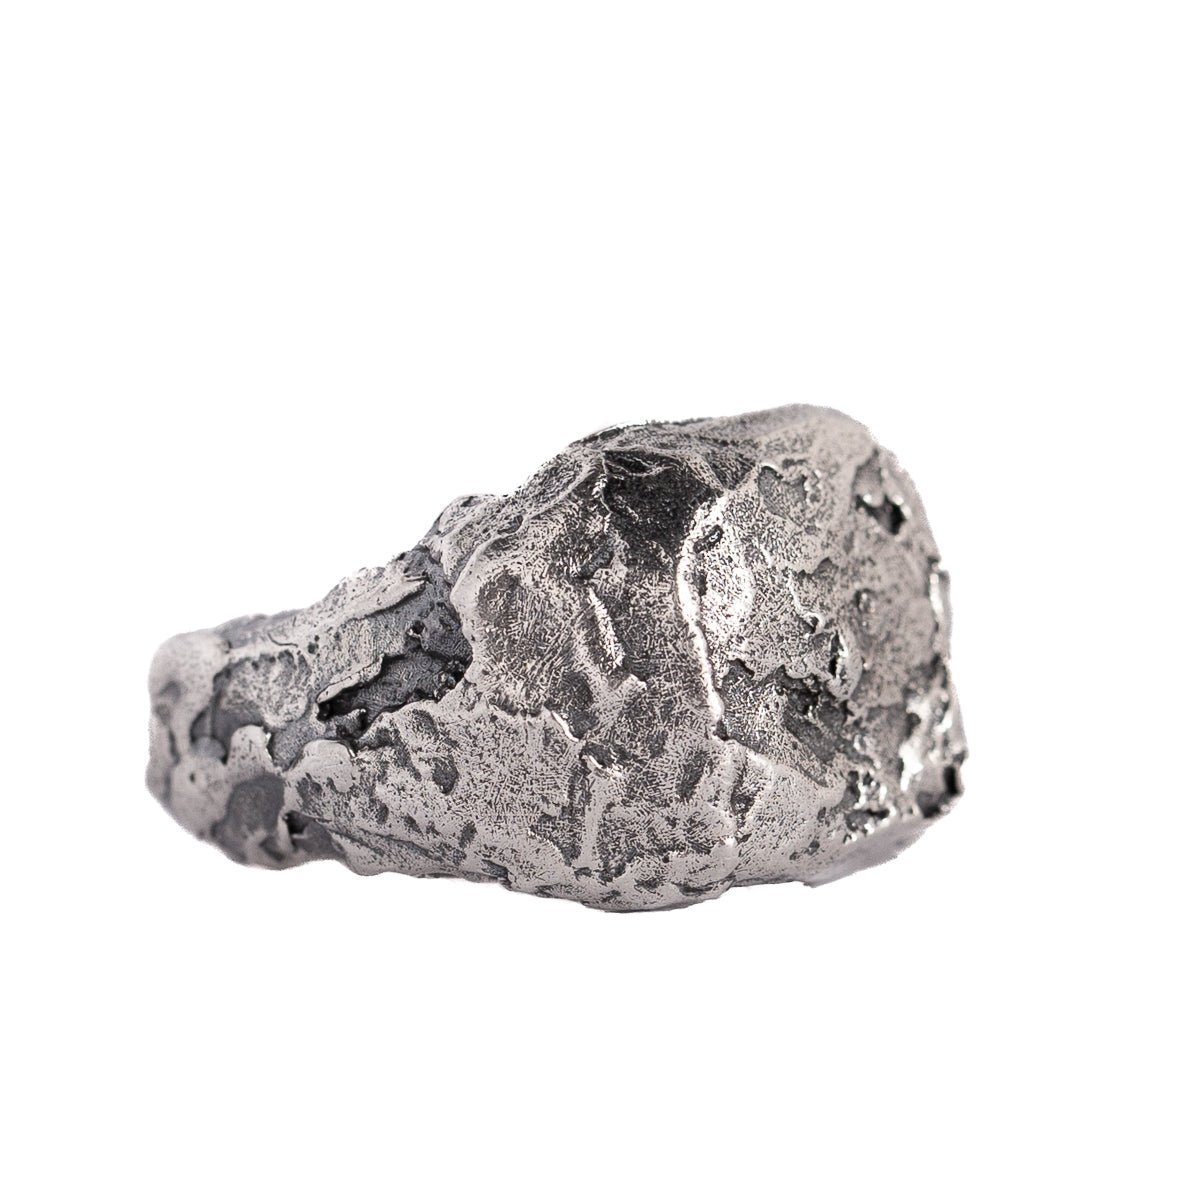
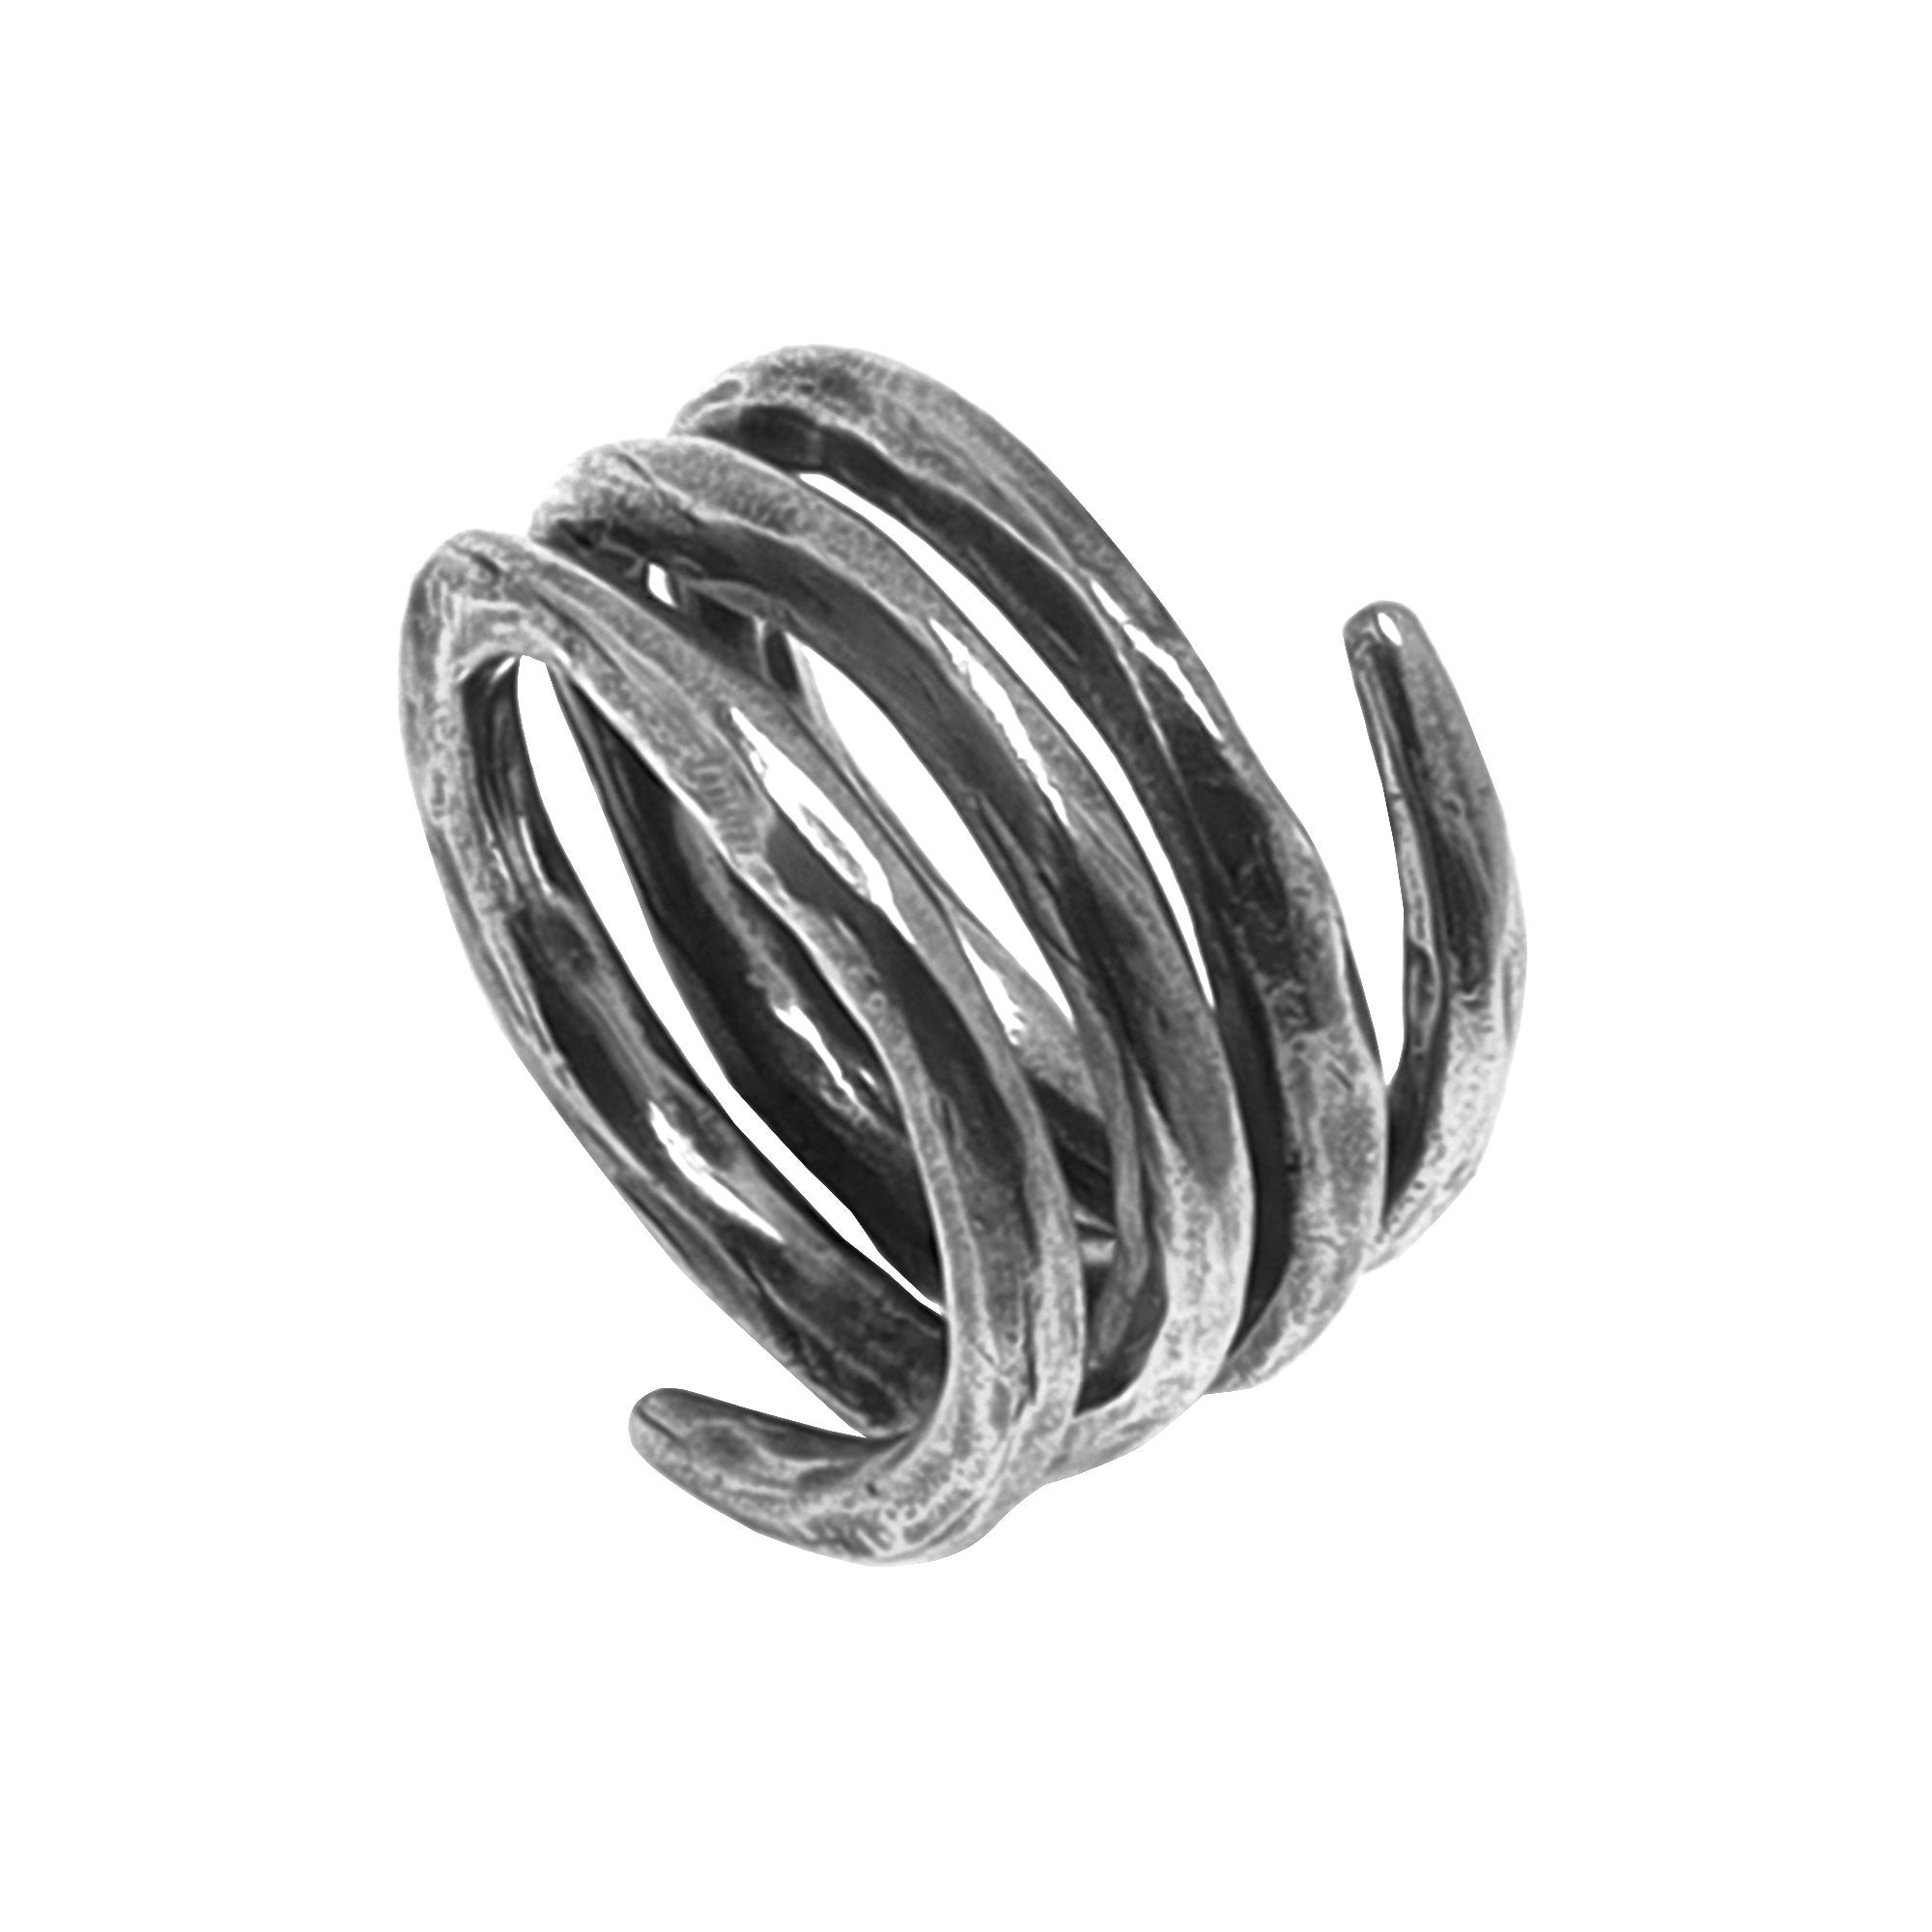
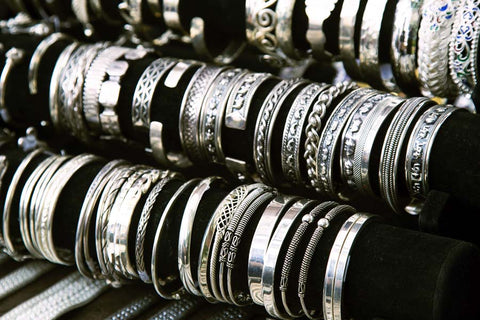
At JewelryLab, you can find a wide range of jewelry pieces made from oxidized sterling silver. From cuffs and chain link bracelets to simple yet unique earrings, pendants, and chain necklaces, you can find plenty of trendy options on our site.
Do you love the look of oxidized jewelry but need help figuring out how to start? You can achieve this by exposing sterling silver to certain chemicals and processes that can cause a chemical reaction with its surface.
Our guide below will show you techniques and tips on how to oxidize sterling jewelry safely and effectively. By following these guidelines, you can easily transform your pieces from bright and modern to exceptional antique ones.
How to Oxidize Sterling Silver Jewelry
1. Preparing the workplace
Set up a clean and well-ventilated area
Before you embark on the oxidation journey, make sure you have a suitable workspace. Be sure to work in a clean and well-ventilated area with adequate airflow to minimize exposure to fumes.
You can also lay down a protective covering to prevent any accidental spills or stains. Don’t forget to put on safety goggles, gloves, and a mask to protect your eyes and skin from accidental chemical splashes.
Gather the necessary tools and materials
After setting up the workspace, you need to make sure that you have the necessary tools and materials at hand. Here is what you will need for oxidation:
- A sterling silver jewelry piece (should not be plated)
- Oxidizing solution
- Soft bristle brush or sponge
- Polishing cloth
- Mild dish soap
2. Cleaning the sterling silver jewelry
Before you begin oxidizing, you need to remove any dirt or oil from your jewelry that may hinder the oxidation process. For successful oxidation and optimal results, you have to clean it thoroughly. Follow these steps to preserve the shine of your jewelry:
- Take a soft, brittle brush or sponge and a mild dish soap solution, and carefully scrub the jewelry to remove any dirt, oil, or tarnish.
- Next, rinse your jewelry with water to remove any soap residue.
- Dry your jewelry with a soft, lint-free cloth to prevent water spots.
3. Preparing the oxidizing solution
Now, it's time to prepare the oxidizing solution. Begin by diluting the oxidizing agent, which typically involves mixing a specific (small) amount of the agent with water to create the desired strength of the solution.
If you are using a gel, follow the dilution instructions provided by the manufacturer. When using a solid liver of sulfur, add only a tiny chip to hot water until it turns brownish. To do so, you need to prepare a small container.
It must be large enough to submerge the jewelry you will be oxidizing. Refrain from using metal containers, as they can react with the solution. Instead, you can opt for glass or plastic containers that are resistant to chemical corrosion.
4. Applying the oxidizing solution
Carefully place your clean and dry sterling silver jewelry into the oxidizing solution that you prepared. You should fully submerge each piece so that the solution is in contact with all jewelry surfaces and starts to change its color.
As the reaction happens, check every five minutes. The exposure time depends on the level of darkness that you want your jewelry to be.
Make sure to occasionally move the jewelry around in the solution to evenly oxidize all surfaces. Doing so can help you distribute the oxidizing solution evenly.
Remember, the oxidation process can happen rapidly. Hence, frequent checks and prompt reactions and adjustments are crucial to avoid making your jewelry too dark.
5. Rinsing and cleaning the jewelry
Once your jewelry reaches your desired level of oxidation, you can remove it from the solution. At this stage, you need to rinse it thoroughly again with water. This will halt the oxidation process and remove residual chemicals from your pieces.
After rinsing your jewelry, dry it with a soft, lint-free cloth. Take a moment to inspect the oxidized finish. Ensure that the result meets your expectations regarding color and consistency.
If necessary, you can use a brush or a cloth to remove excess oxidation or residue from the surface of the jewelry. However, you must be gentle during the cleaning process to avoid scratching the blackened surface or damaging the finish.
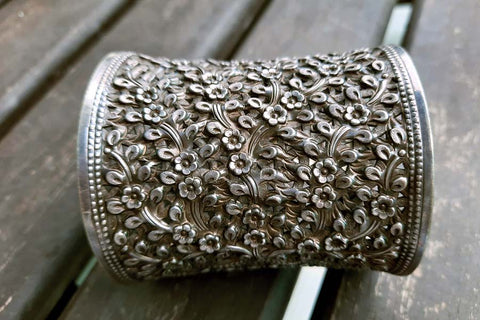
Source: shutterstock.com / Photo Contributor: MaydawinTH
6. Finishing and polishing
When you oxidize your jewelry using a chemical solution, the process can often leave a residual oxidizing agent. Such agents can continue to react with the silver, potentially causing further tarnishing. Neutralizing the agent can halt the oxidation and prevent any further damage to the silver.
For this reason, once you are satisfied with the color, you can neutralize the remaining oxidizing agent by dipping your jewelry into a baking soda solution (mix two tablespoons of baking soda with one cup of water). Rinse thoroughly and dry the jewelry using a paper towel.
After you finish cleaning and drying your jewelry, you may apply a protective coat to enhance its appearance and durability. You can use a jewelry-grade wax or sealant to protect the oxidized finish and prevent tarnishing over time.
Gently polish the jewelry with a soft polishing cloth to bring out a lovely luster. If needed, you can also use an abrasive pad and gently buff the surface to even the color. By doing so, you can create trendy jewelry that will last throughout the years.
Tarnishing Sterling Silver
Oxidizing sterling silver involves intentionally darkening the metal for a vintage look. In contrast, sterling silver can naturally tarnish as it reacts with the sulfur compounds in the air. The result is a dull or discolored metal surface.
If you expose such jewelry pieces to air, moisture, and certain chemicals, you can accelerate the tarnishing process. As we can see, these processes are not exactly the same, but they have a similar effect on the appearance of the jewelry.
So, how to tarnish sterling silver? If you want to tarnish this metal deliberately, you can expose it to sulfur-containing substances or use a commercial tarnishing solution. Here are a few methods for tarnishing sterling silver effectively:
- Leave your sterling silver jewelry out in the open air for a longer time
- Apply the raw egg yolk to your silver pieces before you buff them with a cloth
- Use a solution such as a liver of sulfur
How to Oxidize Brass Jewelry
Above, you learned how to oxidize sterling silver jewelry in a couple of steps. But how do you oxidize brass jewelry for a vintage and darkened look? You can implement various methods to achieve such an effect.
You can purchase an oxidizing solution from a jewelry supply store or soak your brass jewelry in household items like hard-boiled eggs or vinegar and salt. The specialized solutions typically react faster and enable more control of the oxidation.
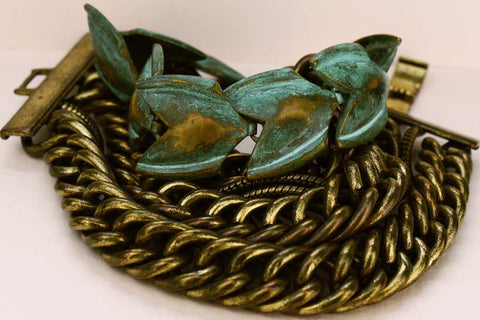
Source: shutterstock.com / Photo Contributor: Lena Chert
Essential tips for oxidizing brass jewelry
- No matter what method you use, test an inconspicuous area of your jewelry to determine the effect before applying it to the whole piece
- Keep track of the time during which your item is exposed to the tarnishing agent
- Buffing the jewelry afterward can remove some of the tarnish and enable you to achieve the desired effect
- Remove your brass jewelry while swimming, showering, or washing your hands to prolong its dark color
Conclusion
In this guide, we explained how to oxidize sterling silver jewelry in several steps. The process involves the use of an oxidized agent that can help you in achieving the desired effect.
Oxidizing adds character and warmth to the jewelry, transforming them into wearable pieces of art. By following the steps we outlined above, you can open a new world of possibilities for expressing your creativity and achieving stunning results.
If you are interested in expressing a dark yet chic aesthetic, be sure to check out our collection at JewelryLab. Our unique, handmade pieces have a captivating allure that transcends trends and elevates any outfit. Enjoy the process!
Jesús is the founder and designer of JewelryLab. He is the Head of Design and also oversees production, quality control, and precious metal sourcing.
-
-
-
-
-
-
-
-

-
-
-
-
-

-
-
-
-
 continue reading


 UNCOVER OUR LATEST CREATIONS
-
 DESIGNED & HANDMADE IN BALI
-
 FREE RESIZING FOR EVERY PIECE
-
 FREE SHIPPING ON $150+ ORDERS
-
 100% SAFE & SECURE CHECKOUT
don't miss a beat!Join Now For 20% Off Your First Order!